

Schedule content for certain dates or times of day
Make a playlist item play only between two dates, only during certain hours, or both.
Updated 2 min read
Any playlist item can be limited to a date range, a time of day, or both. Open the playlist, open the item's display restrictions, set the window and click Save & Publish. Outside its window the item is skipped and the playlist moves on to the next item.
Schedule an item
- Go to Playlists and open the playlist.
- On the item, open display restrictions.
- Set the window:
- Dates: a start and end date. The item plays only on and between them.
- Times: a start and end time. The item plays only during those hours, every day.
- Use one or both.
- Click Save & Publish.
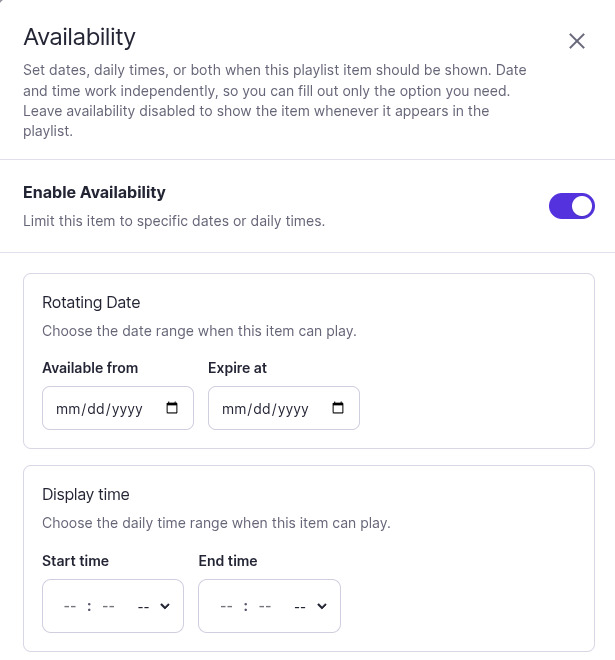
Examples
| You want | Set |
|---|---|
| A holiday promo for one week | Dates only |
| A breakfast menu every morning | Times only |
| A morning class reminder, during term only | Dates and times |
Rules
- Dates can't be in the past, and the end date must be on or after the start.
- Times need both a start and an end, and the end must be after the start.
- Your organization's timezone decides when the window opens and closes.
When the end date passes
The item stops playing on its own. It stays in the playlist, marked with a red warning icon, and its
summary changes from "Expire at
The same red warning icon marks an item that has nothing to show, such as a Donor Recognition display no donor matches: it's skipped as an expired item is. Point at the icon to see why. On Playlists, a warning icon next to a playlist's status lists its expired items, and another its skipped ones.
Good to know
- Only an end date removes an item from the rotation. A time window just limits the hours.
- Scheduling a nested playlist combines its window with the schedules of the items inside it: an item plays only when both allow it.
- An offline screen can't follow a schedule change made while it was offline. It catches up once it reconnects.
Related articles
Still need help?
Our support team can walk you through it.