

Upload and organize images and videos
Add images and videos to your Media library, file them in folders, crop images and remove what you don't need.
Updated 3 min read
On this page
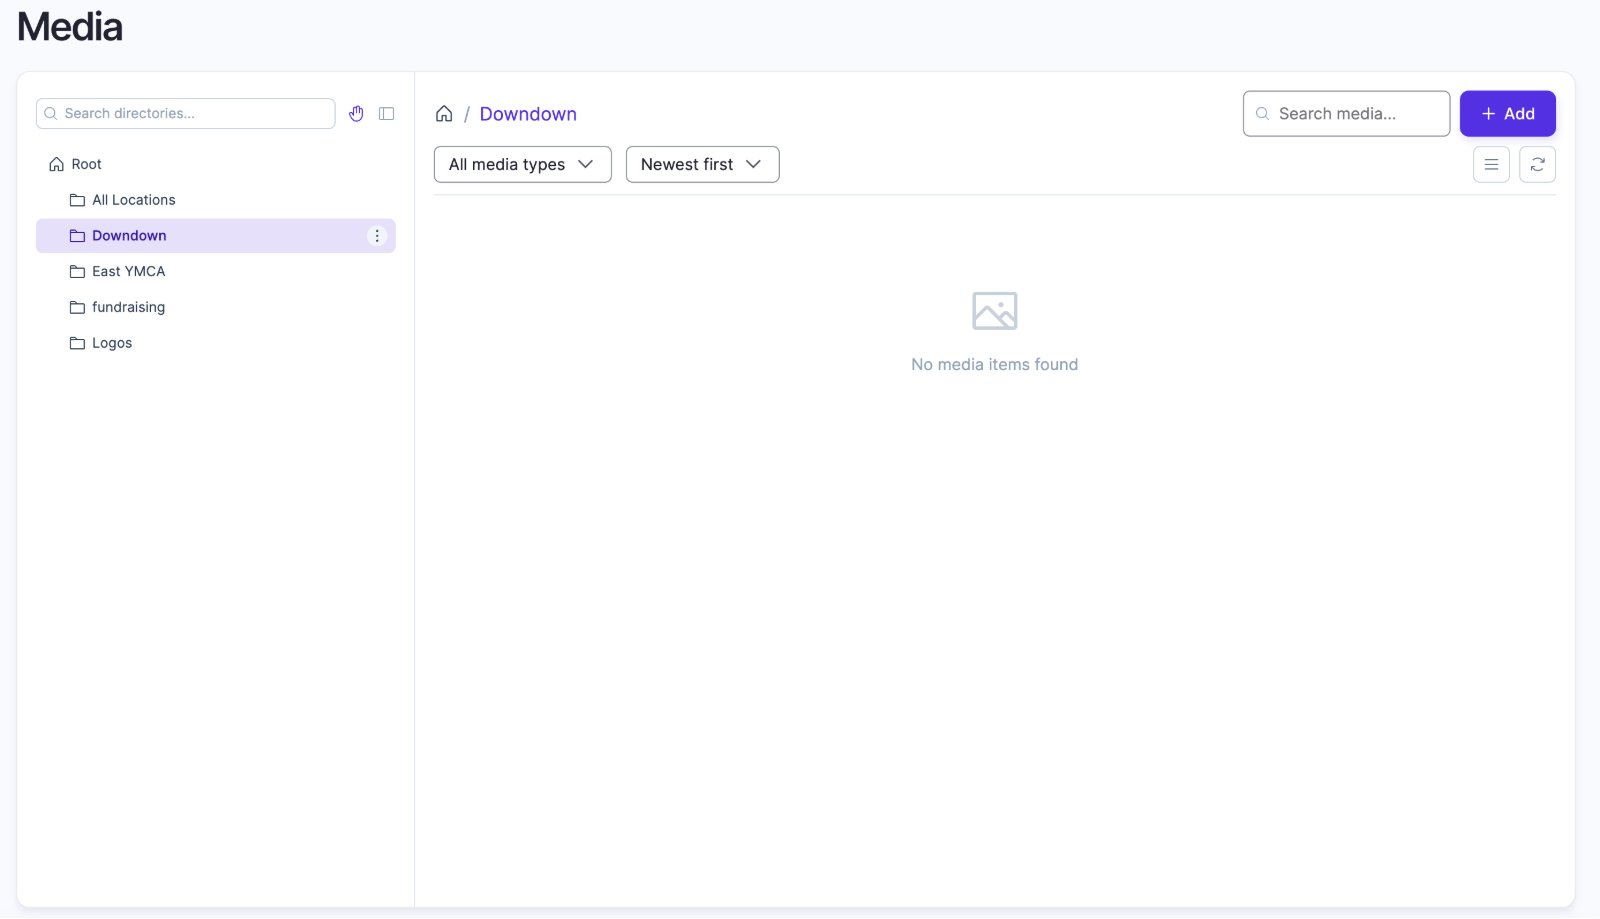
Your images and videos live in Media, a private library for your organization. Click + Add to upload, file them in folders, and then pick them anywhere Screen Pulse asks for an image or video: playlists, apps, donor photos and default content. When you change a file, every screen using it updates.
Upload files
- Go to Media.
- In the folder tree on the left, open the folder the files belong in.
- Click + Add at the top right.
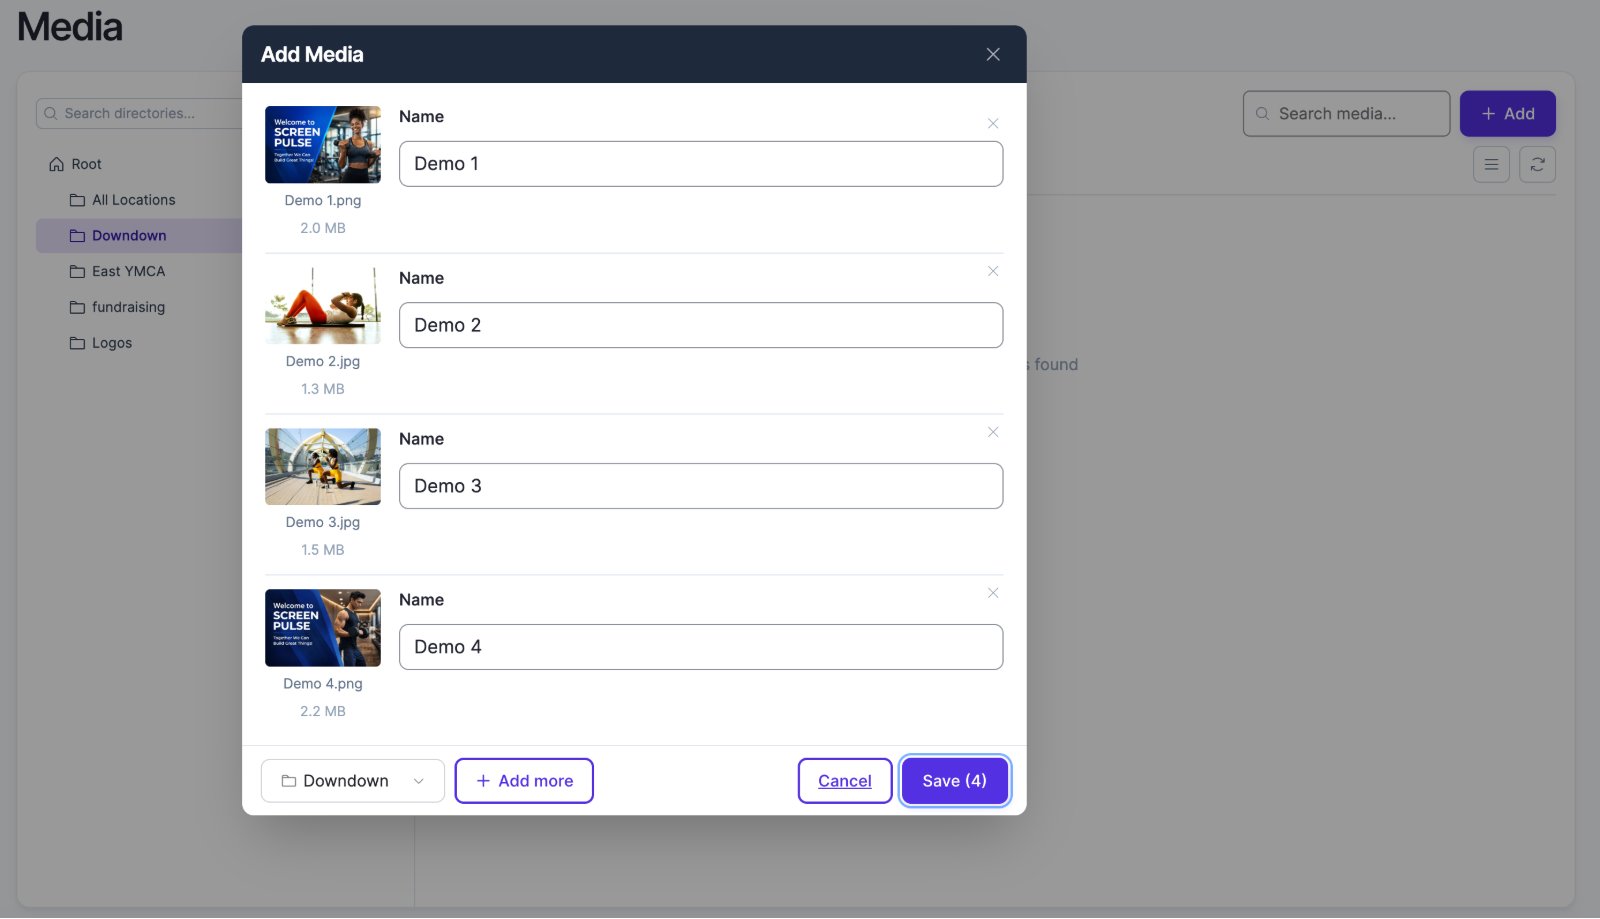
- In the Add Media window, choose the Image or Video tab, then drop your files in or click to browse.
- Check each file's Name; it's what you'll search for later. Use + Add more for more files, and the folder menu at the bottom left to change where they go.
- Click Save. The button shows how many files you're adding.
| Type | Formats | Max size |
|---|---|---|
| Images | JPG, JPEG, PNG, WEBP | 50 MB |
| Videos | MP4, WEBM | 50 MB |
You can also upload from any media picker, for example from the Media tab of Add content in a playlist. If a file is rejected, see My image or video won't upload.
Organize with folders
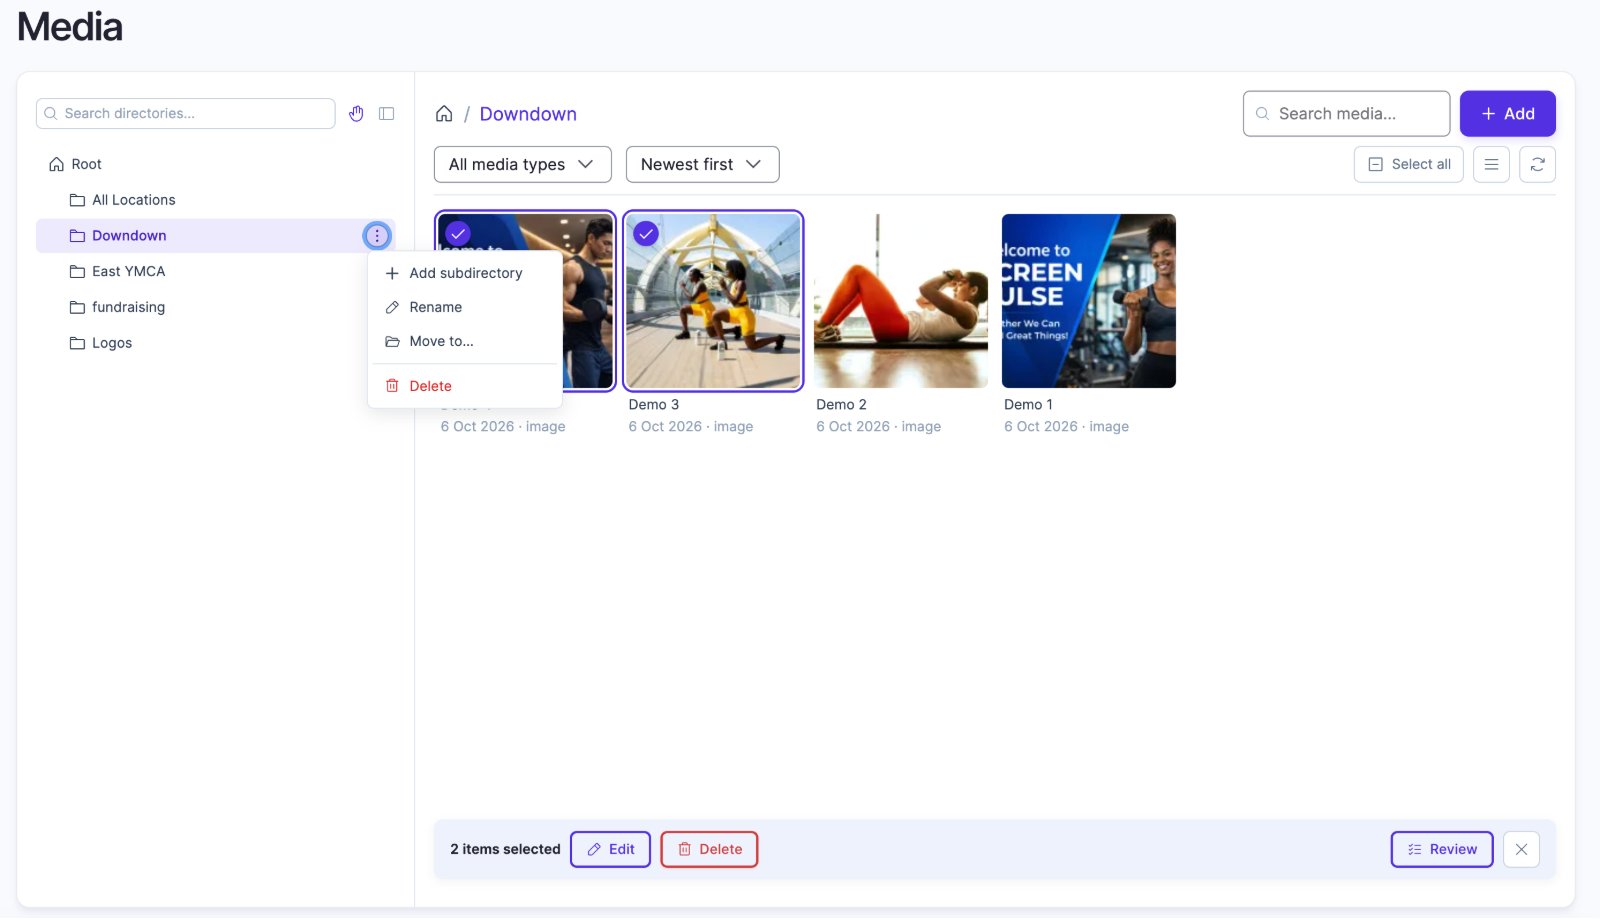
- To add a folder inside another, click the ⋮ next to a folder and choose Add subdirectory. The same menu has Rename, Move to… (moves the folder) and Delete.
- To move files, drag their thumbnails onto a folder in the tree.
- To find a file, click a folder to see just its files, then use Search media..., the All media types filter or the sort menu (Newest first). Search looks in the folder you're in.
Select, edit and delete files
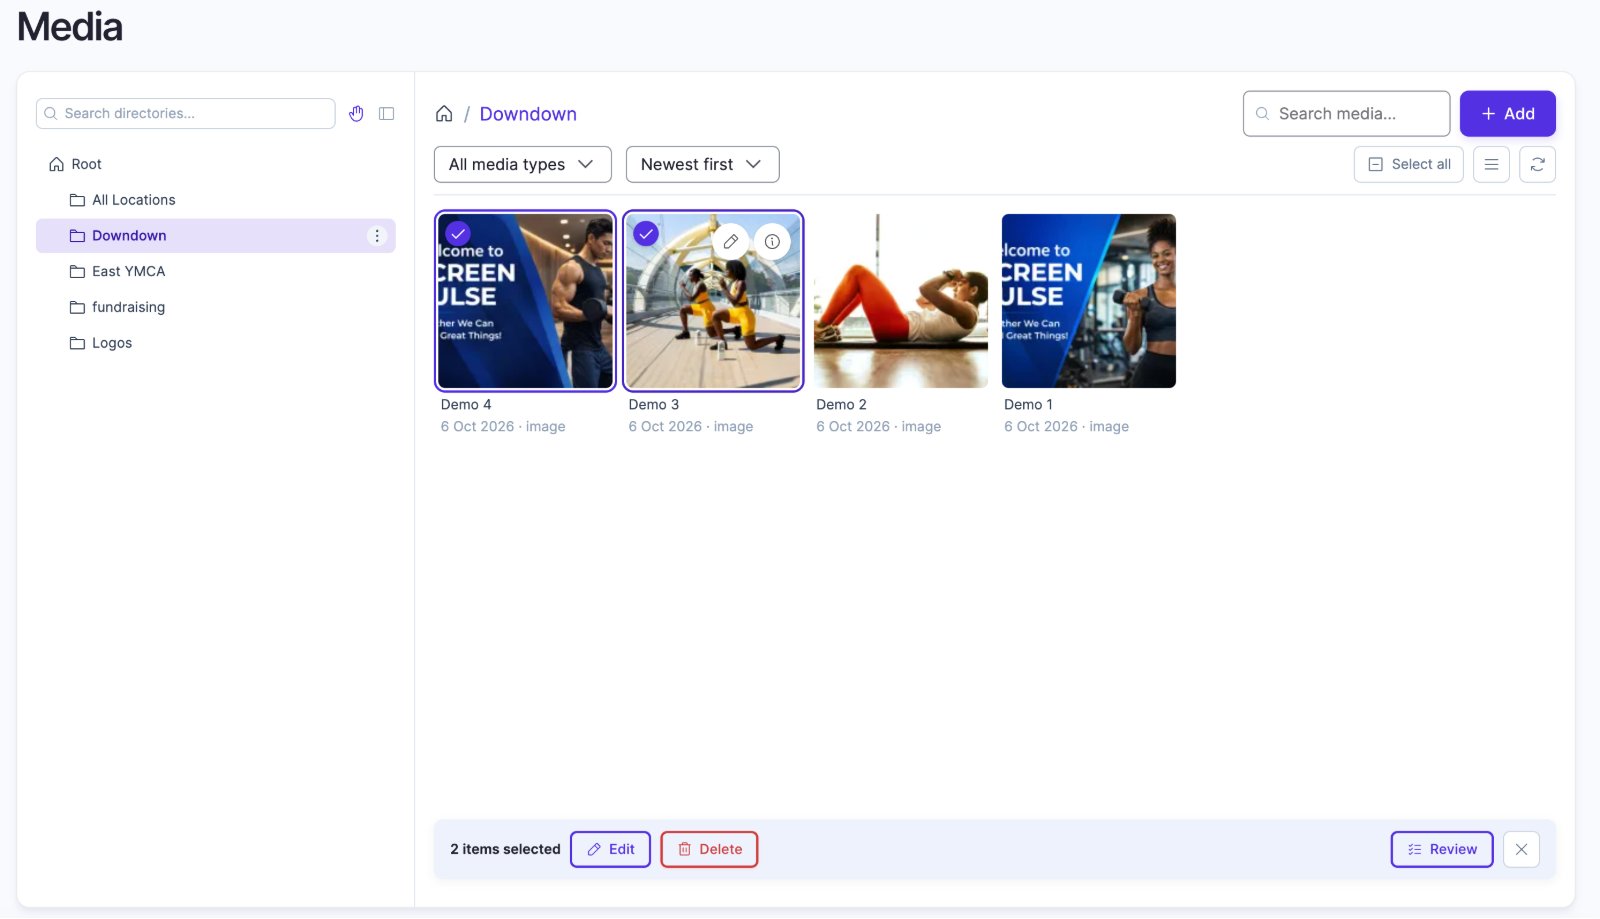
Click a thumbnail to select it; Select all selects everything in the folder. A bar at the bottom shows how many items are selected:
- Edit opens the selected files to rename them.
- Delete removes them, after you confirm.
- Review lists what you've selected, so you can check it before you act.
Deleting can't be undone, and the file disappears from every playlist, app, screen and default content that uses it. There's no "used in" list for media, so if you're unsure, leave the file in place: unused files cost nothing.
Crop an image
- Select the image and click Edit.
- In the Edit Media window, click Edit / Crop.
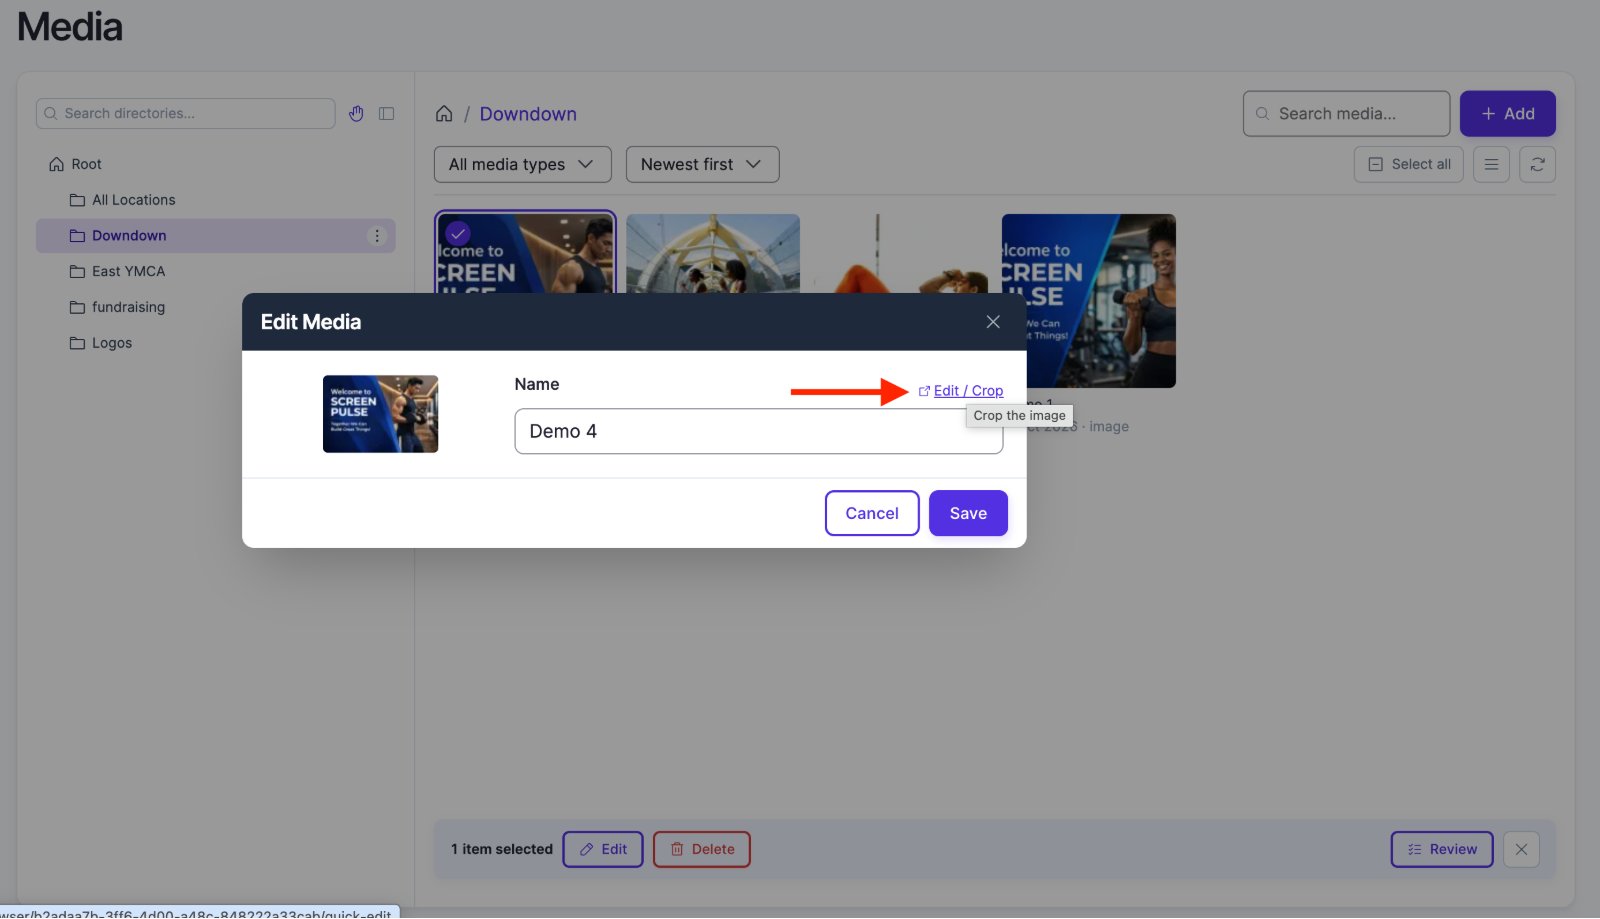
- In the Crop image window, pick a tab, drag the crop area, and click Save. Reset crop goes back to the default.
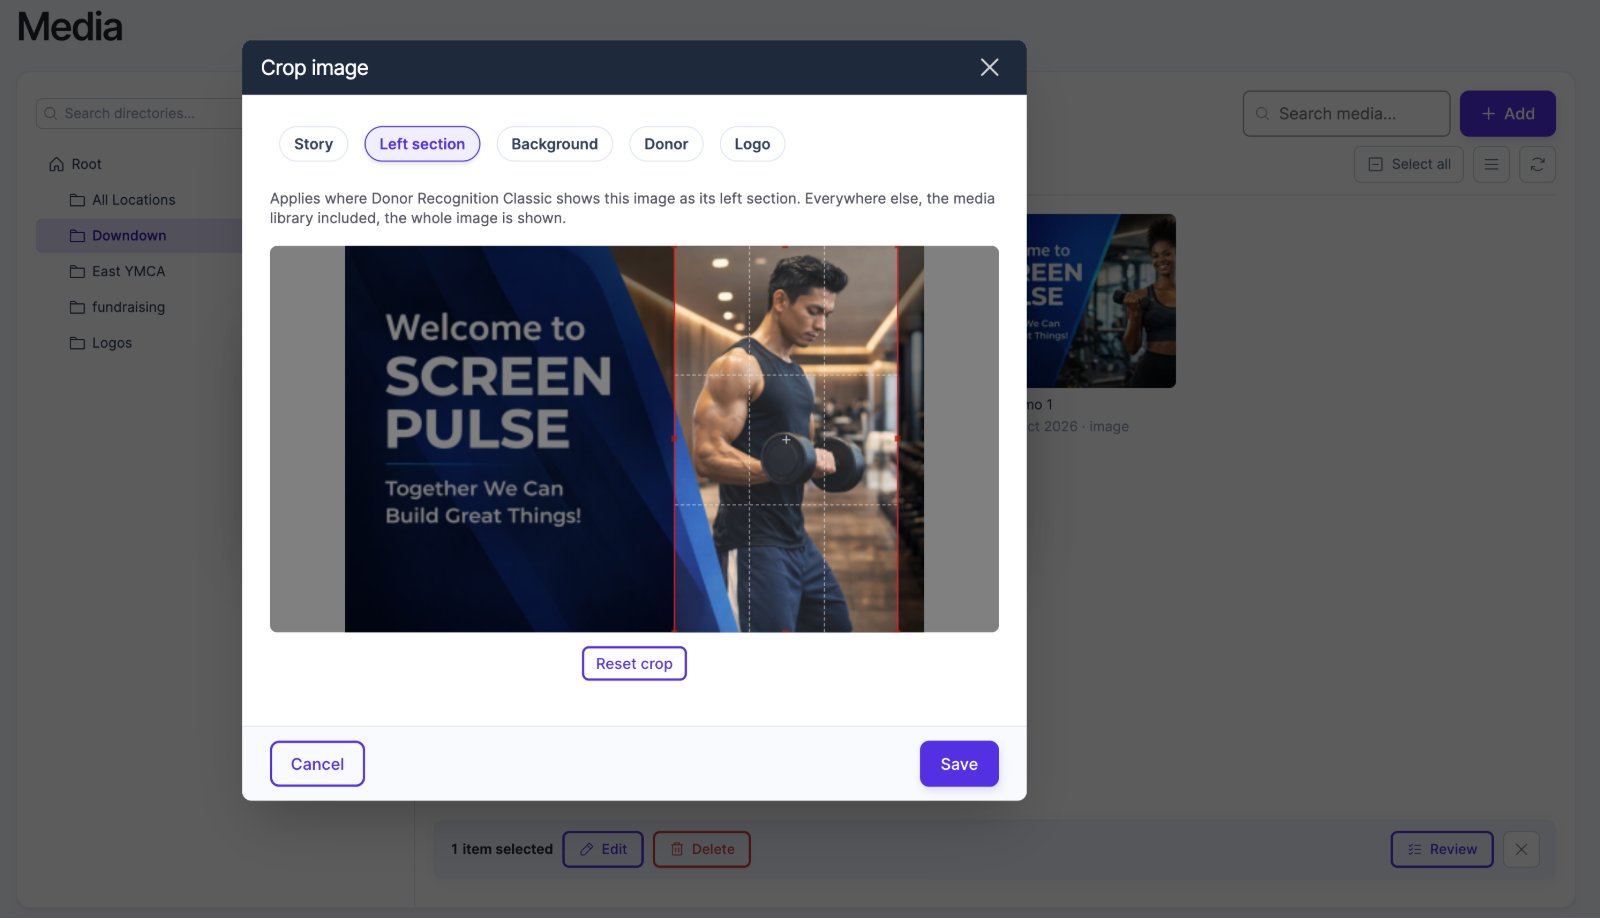
Each tab is the crop one app uses. Logo is for your organization's logo; Story, Left section, Background and Donor appear when your plan includes Donor Recognition. A crop only shows where its app displays the image: everywhere else, the media library included, the whole image is shown. Cropping from an image field in a form (an app's logo or featured slide, your organization's logo, a donor photo) offers only the crop that field uses, and the picked image and the app's preview show the new crop as soon as you click Save in the Crop image window. Default content and fields with no crop of their own play the image as is, so they have no Edit / Crop.
Screen Pulse doesn't edit photos or trim videos beyond cropping. Edit the file in your usual tool and upload the new version.
Good to know
- Removing a file from a playlist doesn't delete it. It stays in Media.
- You can drop files from your computer straight onto a folder in the tree. The Add Media window opens with them, set to that folder.
Also searched as: upload video, MP4, upload image, drag and drop, media library, folders.
Related articles
- Build a playlist Create a playlist, add images, videos and apps, set timings, preview it and put it on screens.
- My image or video won't upload Supported formats and size limits, and how to fix a file that's rejected.
- Designing content that looks good on a TV Sizes, file formats and design tips for images and videos that read well from across a room.
Still need help?
Our support team can walk you through it.