

Set up an Amazon Signage Stick with the web console
Set up the stick with its remote, add it in Amazon's Signage manager with Screen Pulse as its CMS, and pair it with a screen.
Updated 4 min read
On this page
Set the stick up with its remote, then add it in Amazon's Signage manager at console.signage.amazon.com with Screen Pulse as its CMS. The stick installs the Screen Pulse player, and you pair it with a screen in Screen Pulse. Use this method if the Amazon Signage app isn't available in your country or you'd rather use a computer; otherwise the app is quicker.
Amazon's guide has every detail: Set up your Signage Stick.
What you need
- The Amazon Signage Stick, its remote with two AAA batteries, and its power cable and adapter.
- A TV or monitor with a free HDMI input. The stick must be connected to it for this method.
- A Wi-Fi network and its password. The stick supports Wi-Fi 6E on the 2.4, 5 and 6 GHz bands (Amazon's Wi-Fi bands FAQ). For enterprise Wi-Fi (a username and password per person), set the stick up with the Amazon Signage app instead: setup with the remote doesn't support it.
- An Amazon account, and a computer to sign in to the web console.
- Your Screen Pulse login.
1. Connect the stick and start it
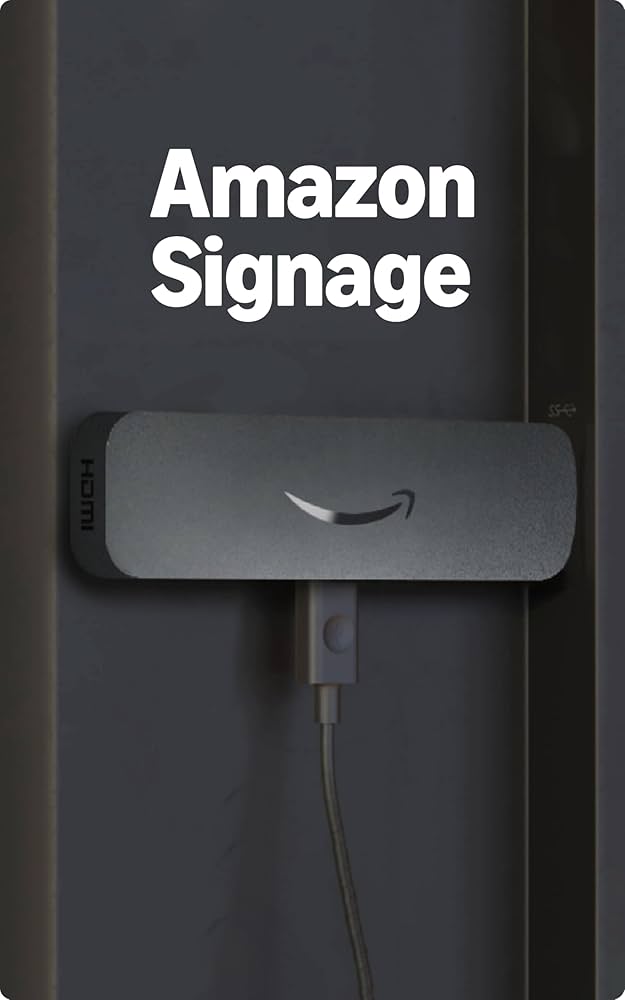
- Plug the stick into the display's HDMI input, using the extender cable if the port is hard to reach, and switch the display to that input.
- Connect the power cable and adapter, and plug them into a wall outlet.
- Put the batteries in the remote.
2. Set up the stick with the remote
- Hold Home on the remote for about 10 seconds, until the display asks you to press Play to start. Press Play/Pause.
- Choose your language.
- Choose your Wi-Fi network and enter its password.
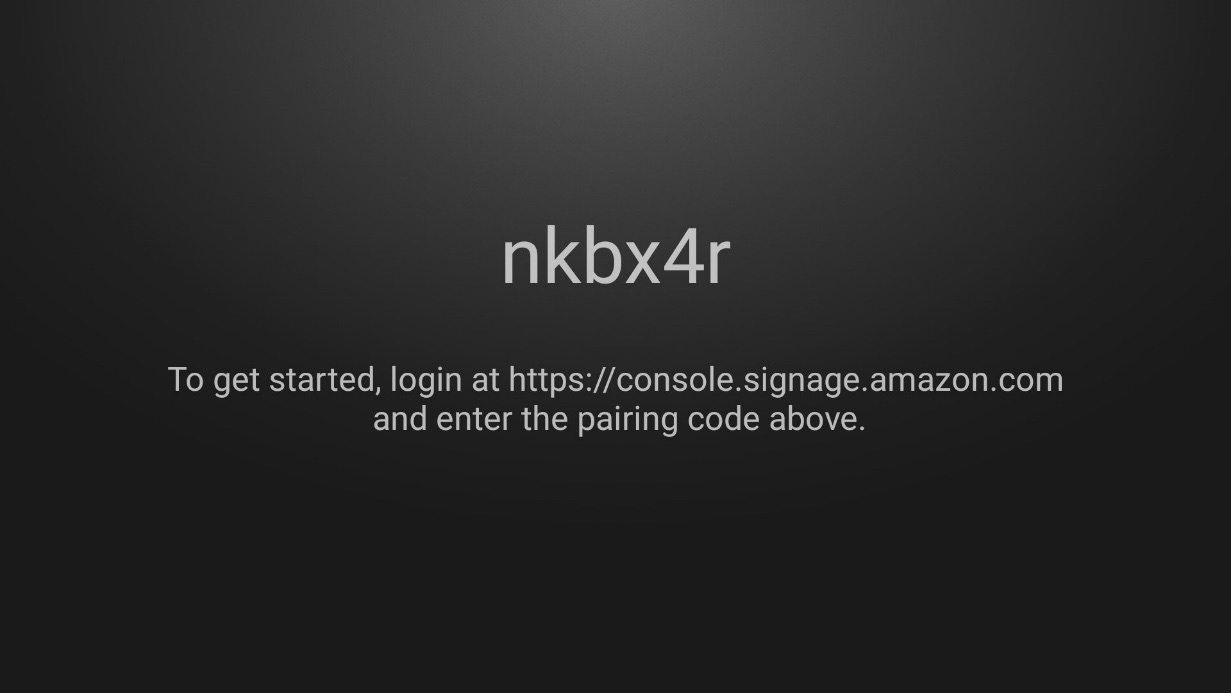
- The display shows a pairing code. Leave it on screen for the next step.
3. Add the stick in Amazon's Signage manager
On a computer, go to console.signage.amazon.com and sign in with your Amazon account. The first time, create your organization when asked.
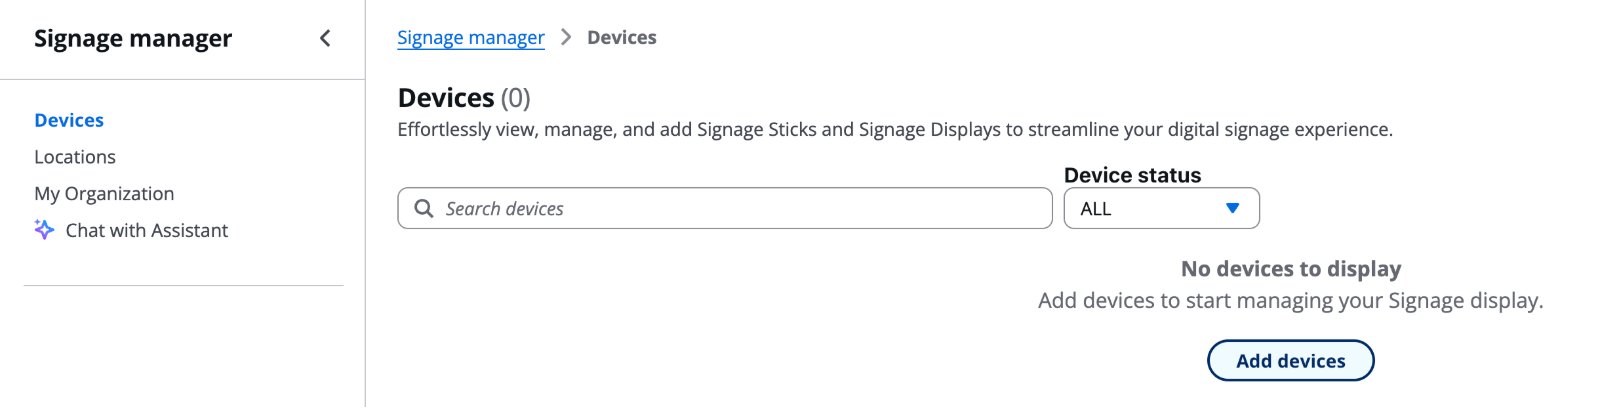
In Signage manager, open Devices and click Add devices (or + Add device if you already have some).
Under Enter pairing code, type the code shown on the display and click Verify.

When it says Pairing successful · Stick detected, click Next.

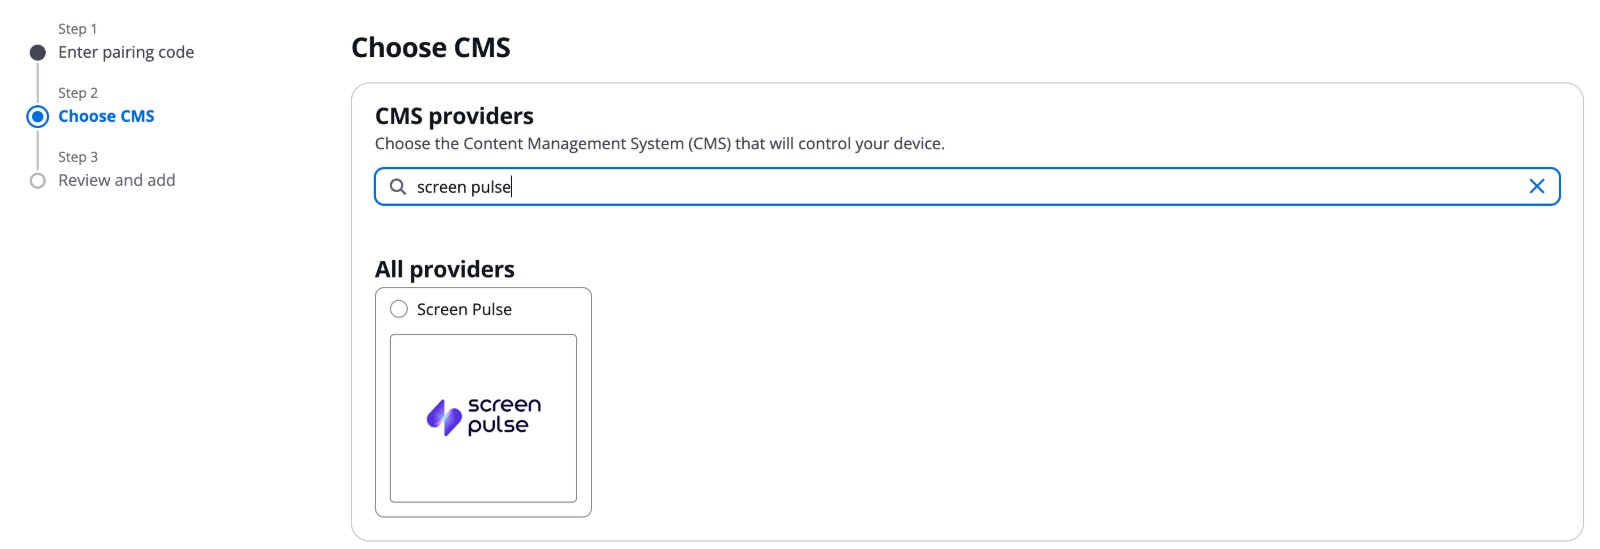
Under Choose CMS, search for screen pulse, select Screen Pulse, and click Next.
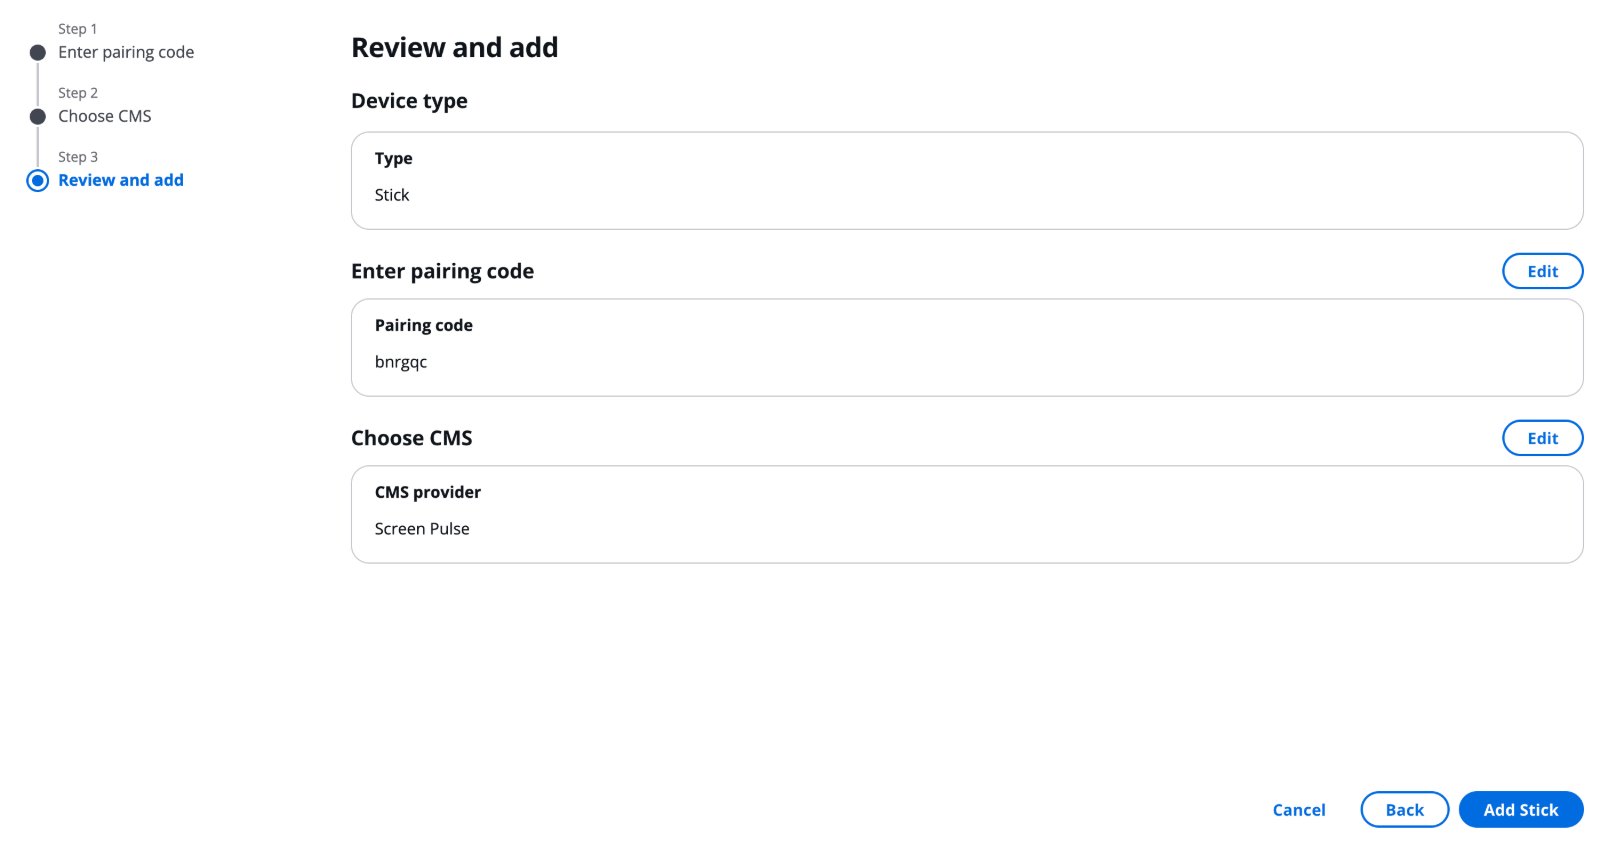
Under Review and add, check that the CMS provider is Screen Pulse, and click Add Stick.
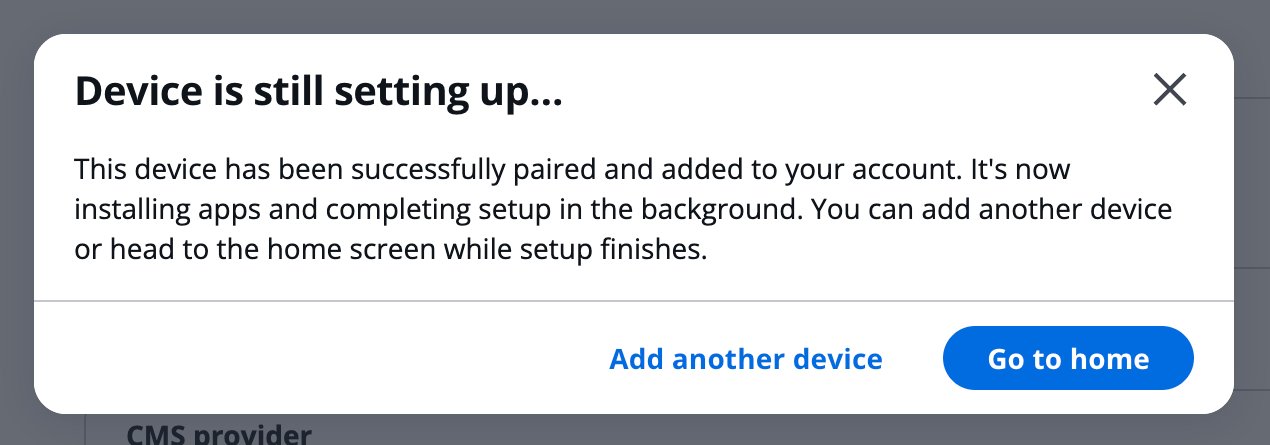
Device is still setting up... confirms the stick was added. It now installs Screen Pulse in the background. Click Go to home, or Add another device to set up the next stick.
4. Wait for Screen Pulse to install
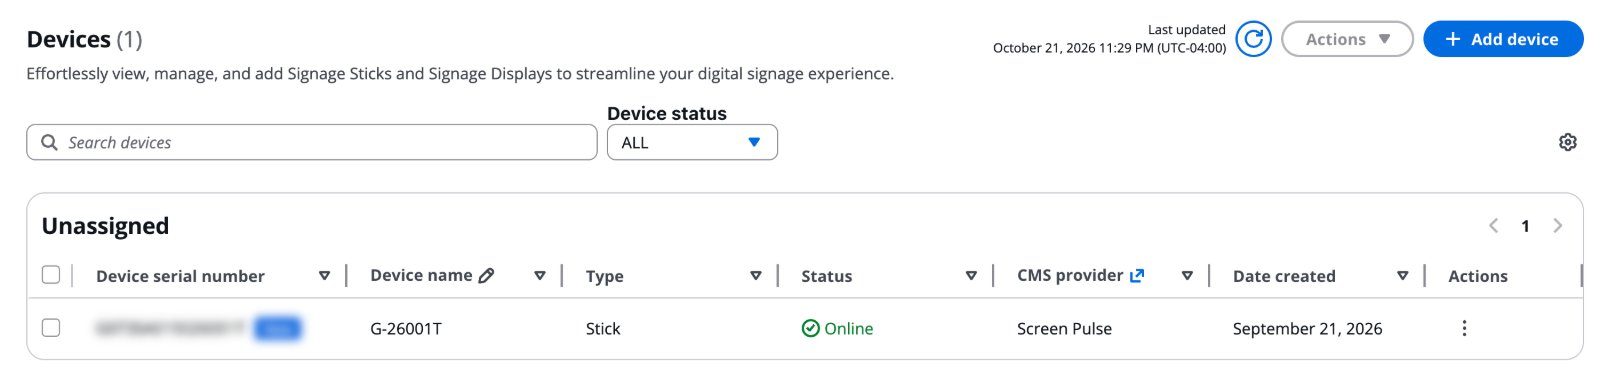
The stick updates and installs Screen Pulse, which can take up to 10 minutes. In Devices, it shows as Online with Screen Pulse as its CMS provider. Click the refresh button to update the list.
5. Pair the stick with a screen in Screen Pulse
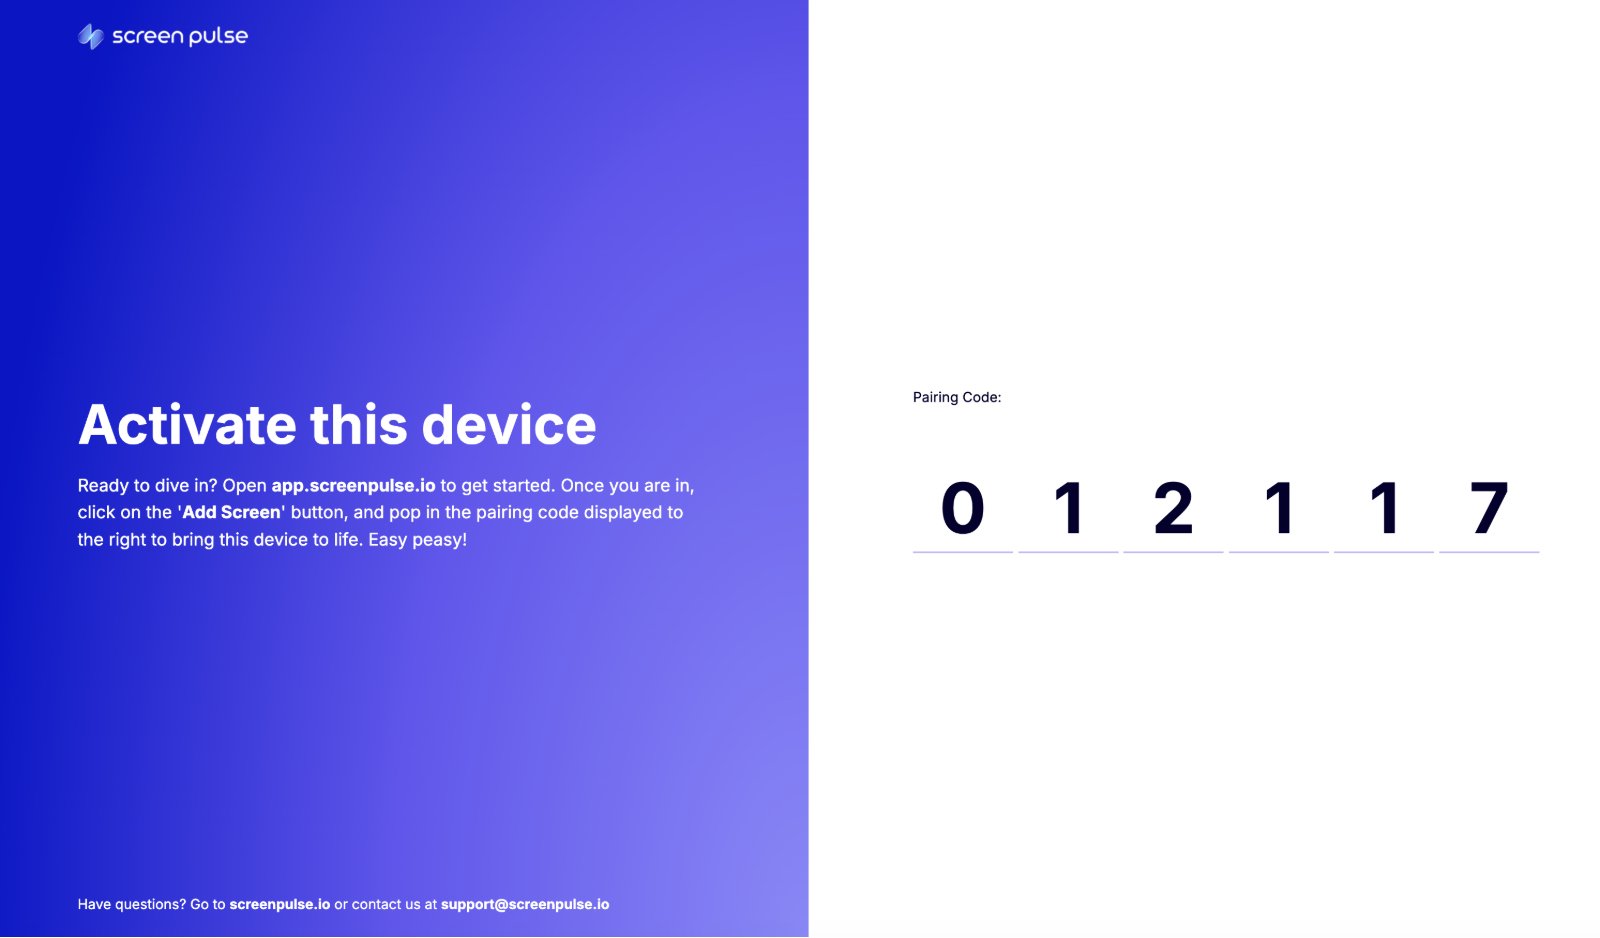
When the install finishes, Screen Pulse starts right away and the display shows Activate this device with a 6-character Pairing Code. In Screen Pulse, go to Screens, click + Add screen, and enter that code. The steps, with screenshots, are in Install the player and connect your first screen.
This is a different code from the one you entered in Amazon's console: that one registers the stick with Amazon, this one connects it to your Screen Pulse screen.
Manage the stick in the console
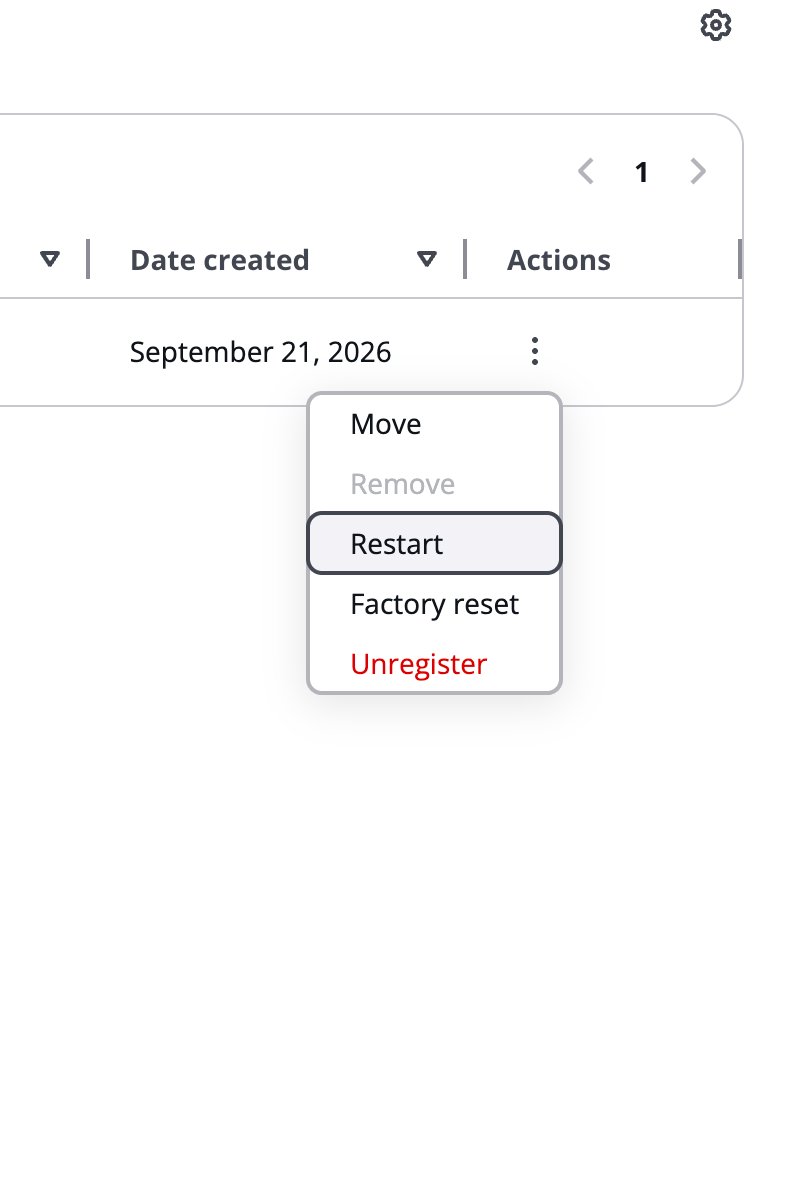
Open the ⋮ menu on the stick's row in Devices to Move it to a location, Restart it, Factory reset it, or Unregister it from your Amazon organization. A factory reset is how you start over, for example to choose a different CMS; see Reset the stick to start over.
Pressing Home or Back on the remote returns to Screen Pulse, so your content stays on the display.
To see the player's status and settings, press Back on the remote and select the gear in the top-right corner. Settings shows the stick's Internet Connection, Platform Connection and Device Pairing status. Start on device restart and Auto-relaunch if closed show Managed by device: Screen Pulse is the stick's home screen, so the stick starts it and reopens it by itself.
Something not working? See Amazon Signage Stick troubleshooting.
Related articles
- Set up an Amazon Signage Stick with the Amazon Signage app Set up the stick from your phone with the Amazon Signage app, choose Screen Pulse, and pair it with a screen.
- Amazon Signage Stick troubleshooting Fix the most common Signage Stick setup problems, from Wi-Fi and remote pairing to a stick that doesn't show Screen Pulse.
- Install the player and connect your first screen Start the player on your device, pair it with a 6-character code and check that it is live.
Still need help?
Our support team can walk you through it.