

Set up a screen now, connect the device later
Prepare screens and their content before the hardware is installed.
Updated 1 min read
On this page
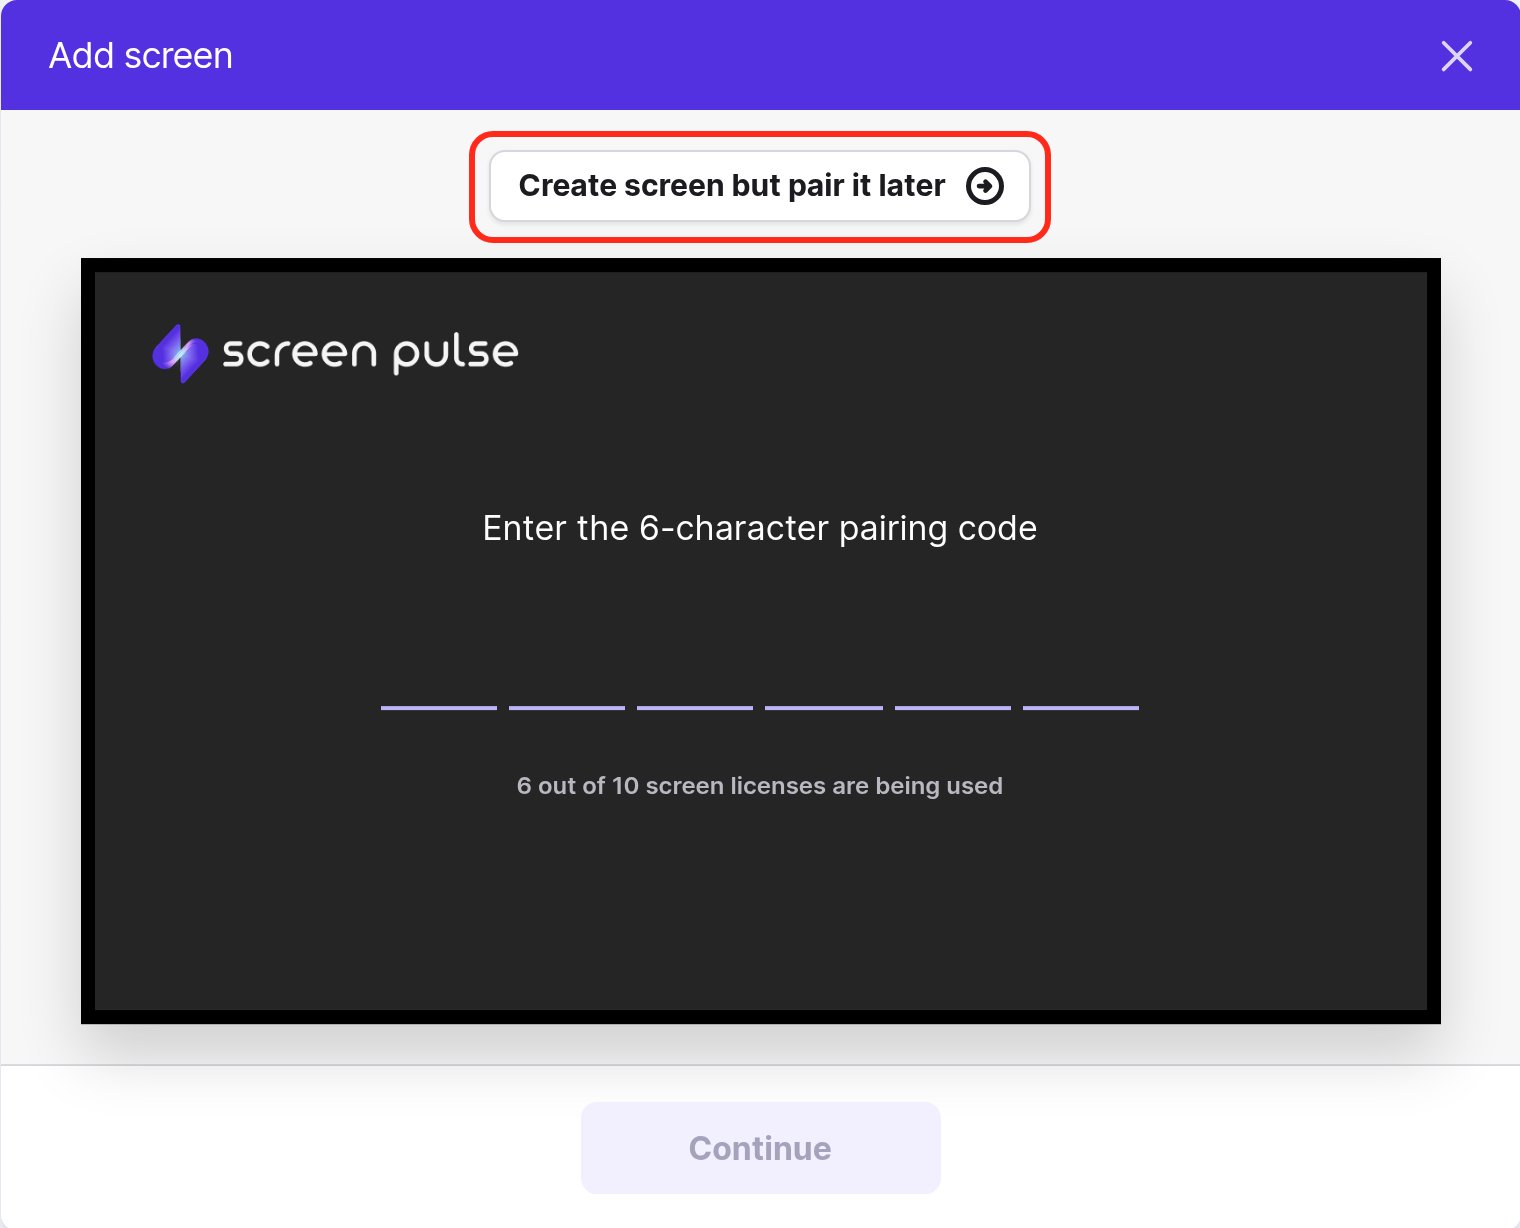
You can create a screen and give it content before the hardware is on the wall. In Screens → Add screen, click Create screen but pair it later instead of entering a code. The screen shows as Inactive until you pair a device, and starts playing its content the moment you do.
This is handy when you're preparing for an opening, or when someone else is installing the displays.
Create the screen
- Go to Screens and click Add screen.
- Click Create screen but pair it later.
- Fill in the Screen Name and any other details, then click Add screen.
The screen appears in your list with the status Inactive.
Give it content and check it
Assign a playlist to the screen as usual; see Put your first content on screen. Then click Preview on the screen to check exactly what it will play. Preview works before a device is paired.
Pair the device when it's installed
- Start the Screen Pulse player on the device. It shows a 6-character pairing code.
- In Screens, open the menu next to Preview on the screen's row and click Pair, or just open the screen.
- Under Connect Device, enter the code and click Continue.
The status changes to Live and the content starts playing.
Good to know
- The screen uses a license from the moment you create it, paired or not. See Screen licenses.
- Pairing needs an active plan. If your trial has ended or your plan is cancelled, the screen shows "Pairing unavailable" instead of the code field until the plan is active.
- Unpaired screens have a Pair action in the menu next to Preview; paired screens don't.
Related articles
Still need help?
Our support team can walk you through it.