

Organize screens into groups and locations
Keep a long Screens list tidy with screen groups, and record where each screen is.
Updated 2 min read
On this page
Screen groups organize the Screens list: each group gets its own section, so screens on the same floor or in the same building sit together. Groups are only for organizing the list. They don't change what plays, and you can't assign a playlist to a whole group. Locations record which of your organization's sites a screen is at.
Create a group
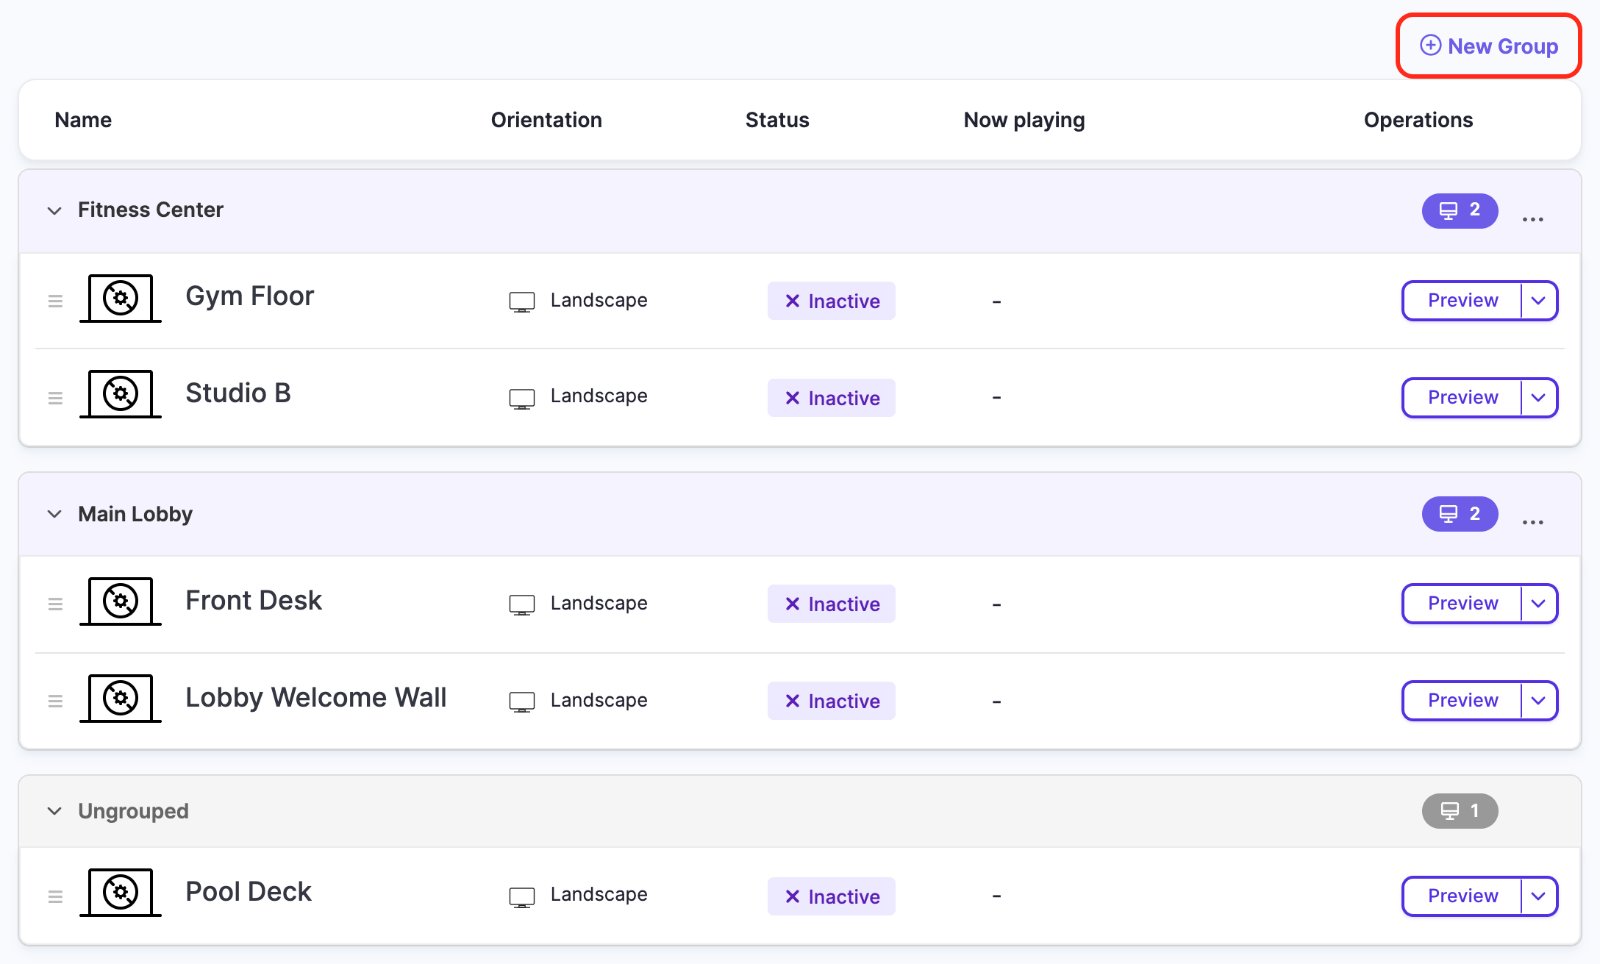
Go to Screens and click New Group.
Enter a Group Name, for example "Main Lobby" or "Fitness Center".
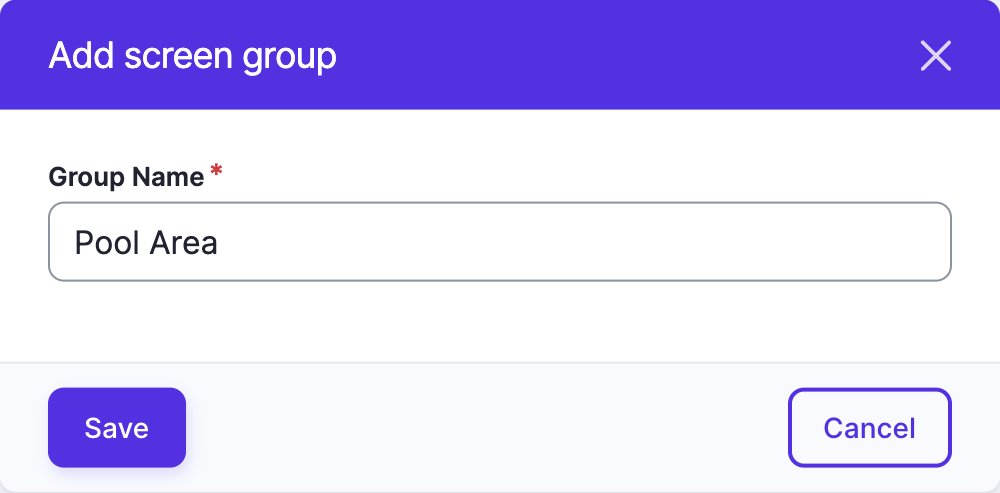
Click Save.
Groups are listed in alphabetical order, each with the number of screens in it. Screens that aren't in a group are listed under Ungrouped, at the bottom.
Put screens in a group
A screen belongs to one group at most. Use either way:
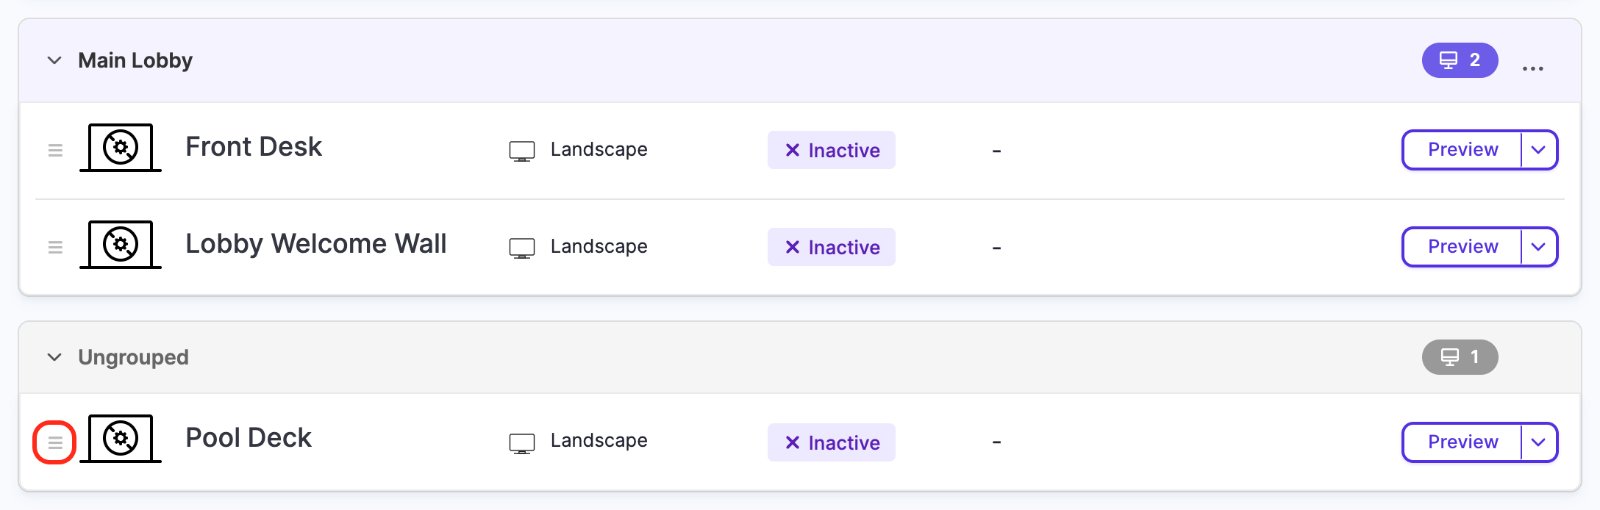
Drag it in the Screens list. Grab the handle at the left of the screen's row and drop the row into a group's section. To take a screen out of its group, drop it into Ungrouped. The change is saved as soon as you drop it.
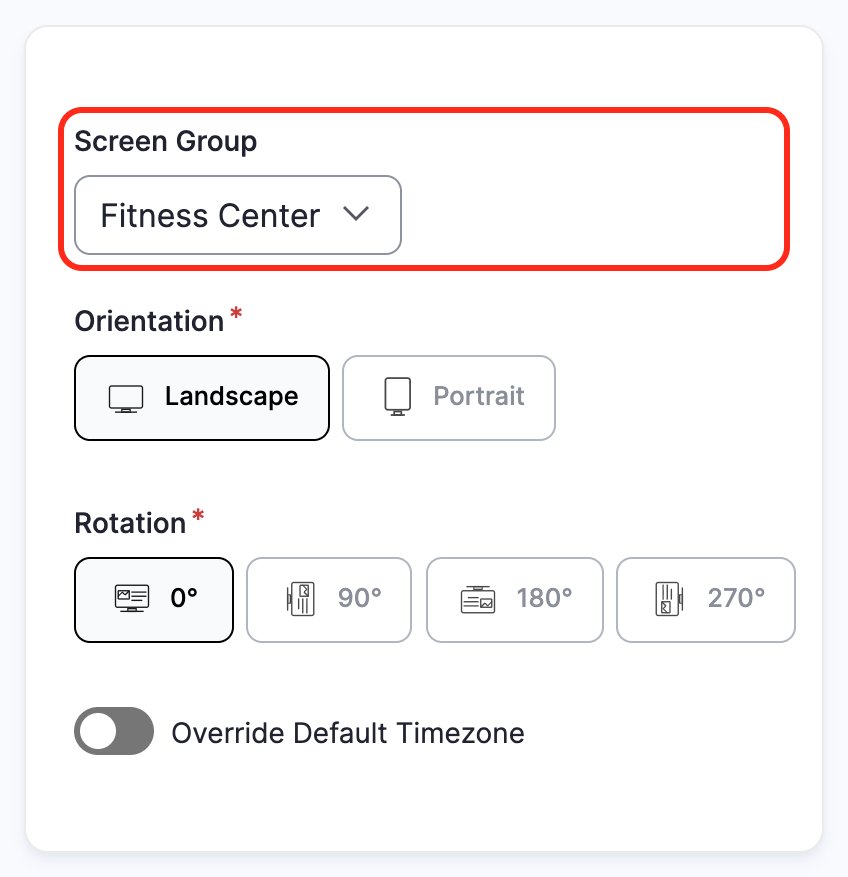
From the screen's settings. In Screens, open the menu next to Preview on the screen's row, click Edit, choose the group in Screen Group and click Save. This field appears once your organization has at least one group.
Rename or delete a group
Click ... at the right of the group's heading, then Edit group to rename it or Delete group to remove it.
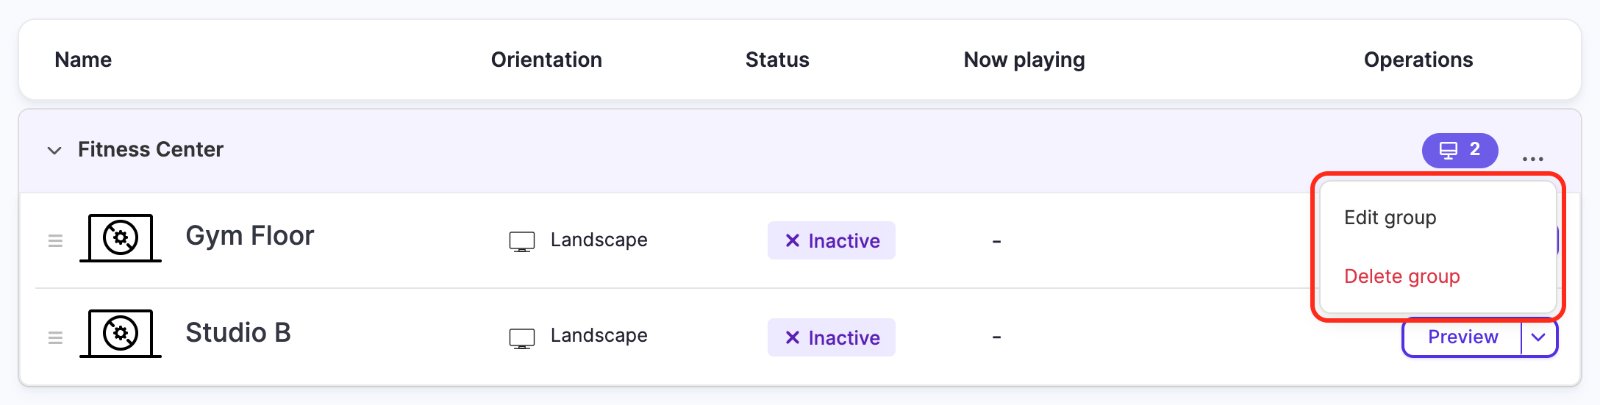
Deleting a group doesn't delete its screens or change what they play: they move to Ungrouped.
Collapse a group
Click a group's heading to collapse or expand it. Your browser remembers which groups you collapsed, so the list looks the same next time you open it on this computer.
Record where a screen is
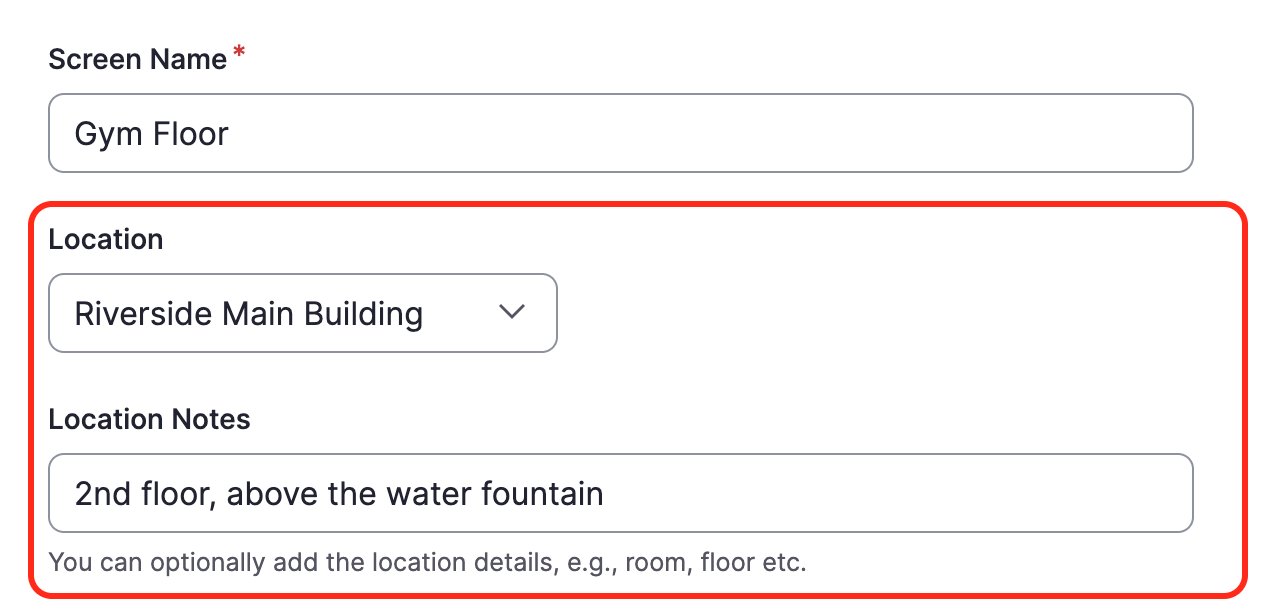
In Screens, open the menu next to Preview on the screen's row, click Edit, and fill in:
- Location: one of your organization's sites. This field only appears once your organization has at least one location. Locations are added in your organization settings; see Organization settings.
- Location Notes: free text such as "Room 204, 2nd floor, left of the door". It helps whoever has to find the screen to restart it. This field is always there, even without locations.
Show the same content on a group of screens
Groups don't carry content, so a playlist is always set on each screen. To show the same content on every screen in a group, set the same playlist on each of them: under Content on each screen's Edit page, click Add content and pick it on the Playlists tab. After that, every change you make to the playlist reaches all of those screens at once. See Build a playlist and Put your first content on screen.
Related articles
- Organization settings: name, logo, timezone and locations Set your organization's logo, default timezone, default play lengths and physical locations.
- Screen settings reference Every field on the screen form, what it does and its default.
- Build a playlist Create a playlist, add images, videos and apps, set timings, preview it and put it on screens.
Still need help?
Our support team can walk you through it.